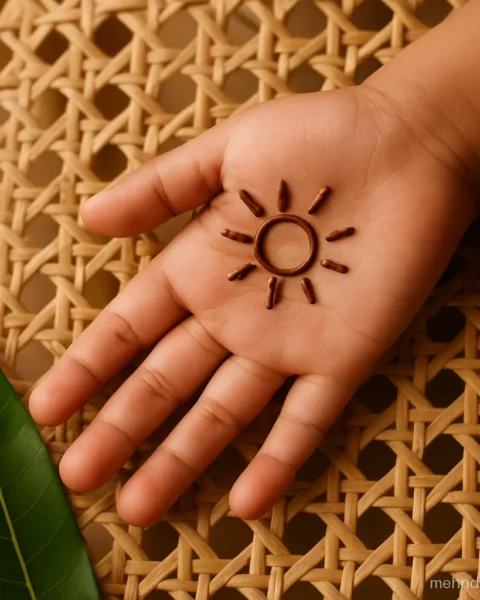
These mehndi designs for beginners start on paper, not on a hand, because that is how every good artist learns. A handy rule: do not touch a real haath until you can make dots and lines that look the same size every time.
Below you will find practice sheets for the five basic strokes, your first easy designs on paper, simple front hand designs and one design shown in five stages. After that comes the full guide: tools, cone pressure, mistakes and a 7 day plan. Every mehendi design for beginners here is easy enough to try today with one cone and some paper. Want a mehndi design simple for beginners and quick to finish? Start with the palm tikki in the front hand section. Can you practise mehndi drawing on paper only? Yes, and you should, with real henna paste so your hand learns the right pressure.
Basic Stroke Practice Sheets
Every mehndi drawing is made from five strokes: dots, lines, teardrops, petals and swirls. Fill one sheet of each before you touch a hand. Use old notebook pages or cream paper, and keep a tissue nearby to wipe the cone tip.
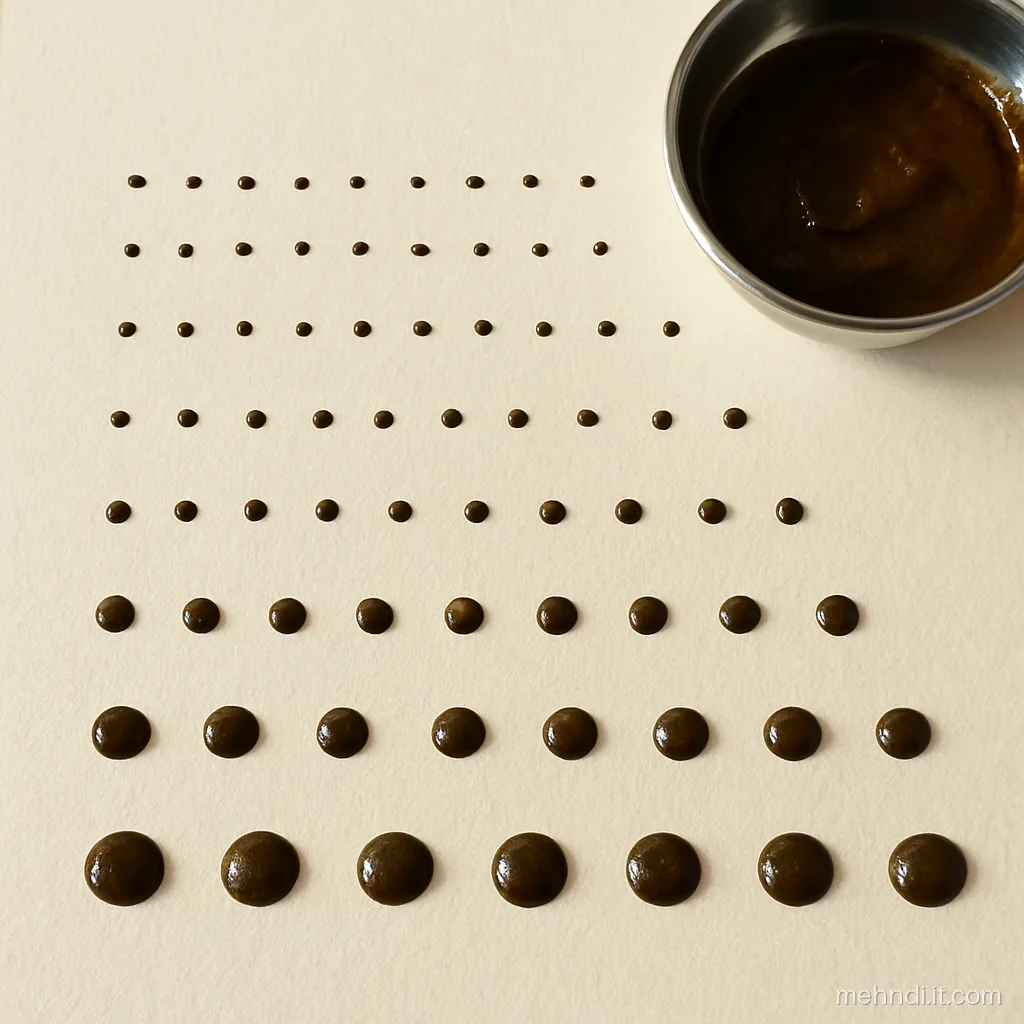
1. Dot Rows Warm Up
Touch, squeeze, lift: count one-two for each dot so they come out the same size. Fill one page in 10 minutes as your daily warm up.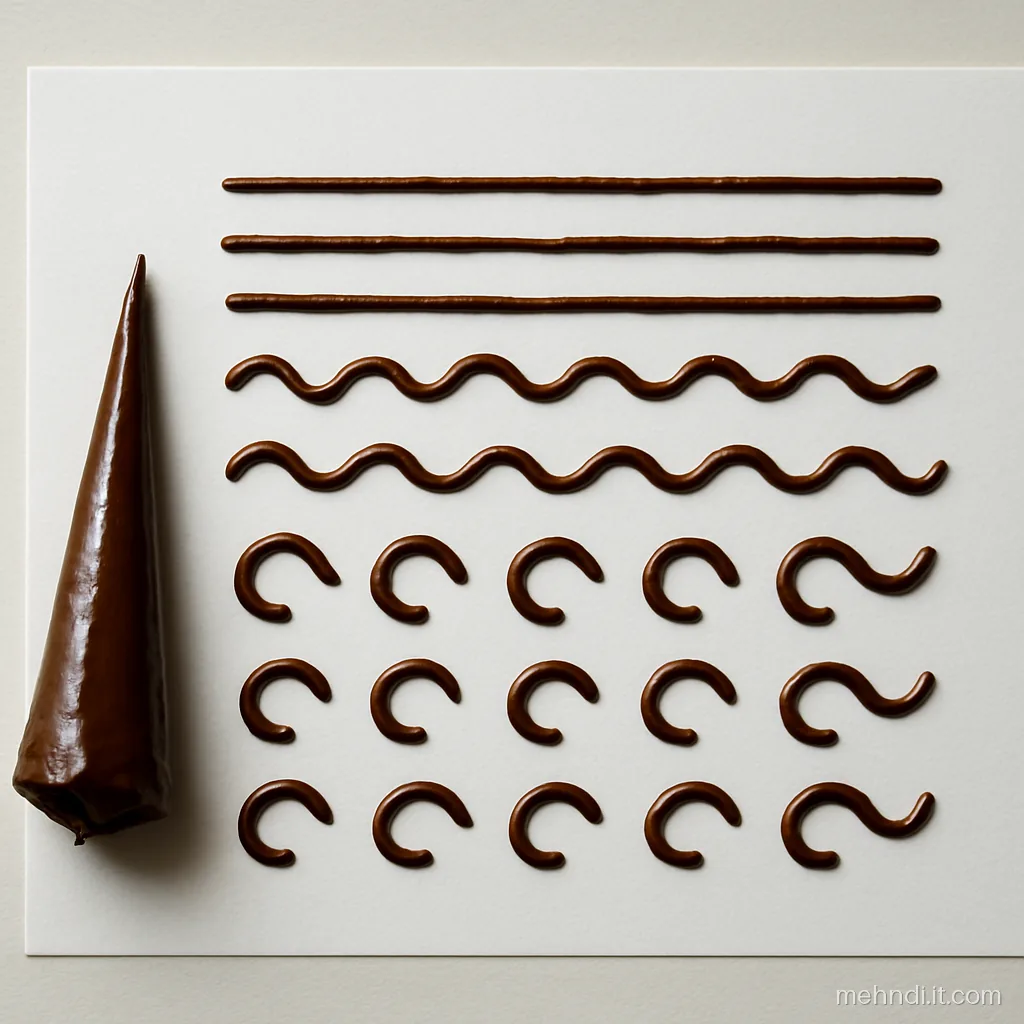
2. Straight and Curved Lines
Keep the cone tip just above the paper, not pressing on it, and let the paste fall onto the line. Spend 10 minutes daily on this.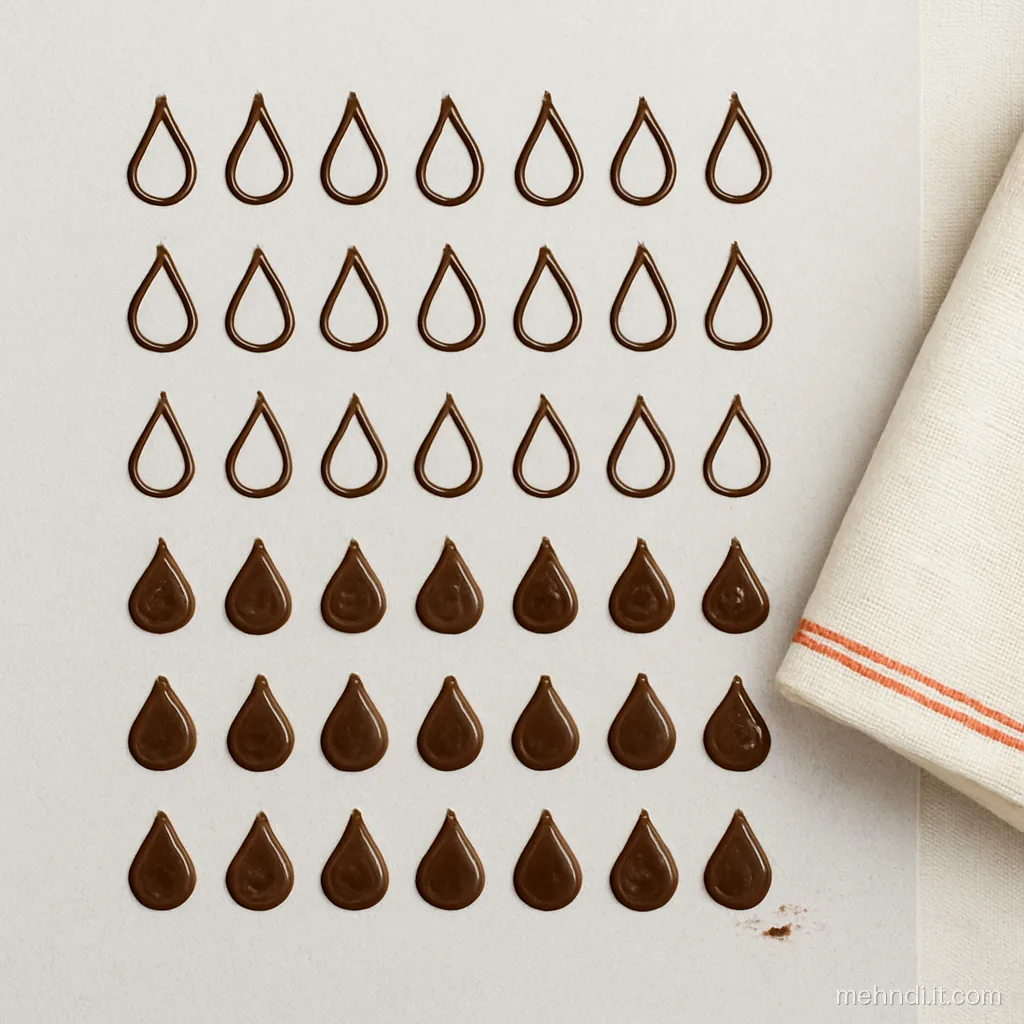
3. Teardrop Shape Drill
Press more at the round end and lift while pulling to the point. Practise 15 minutes until the tails look sharp.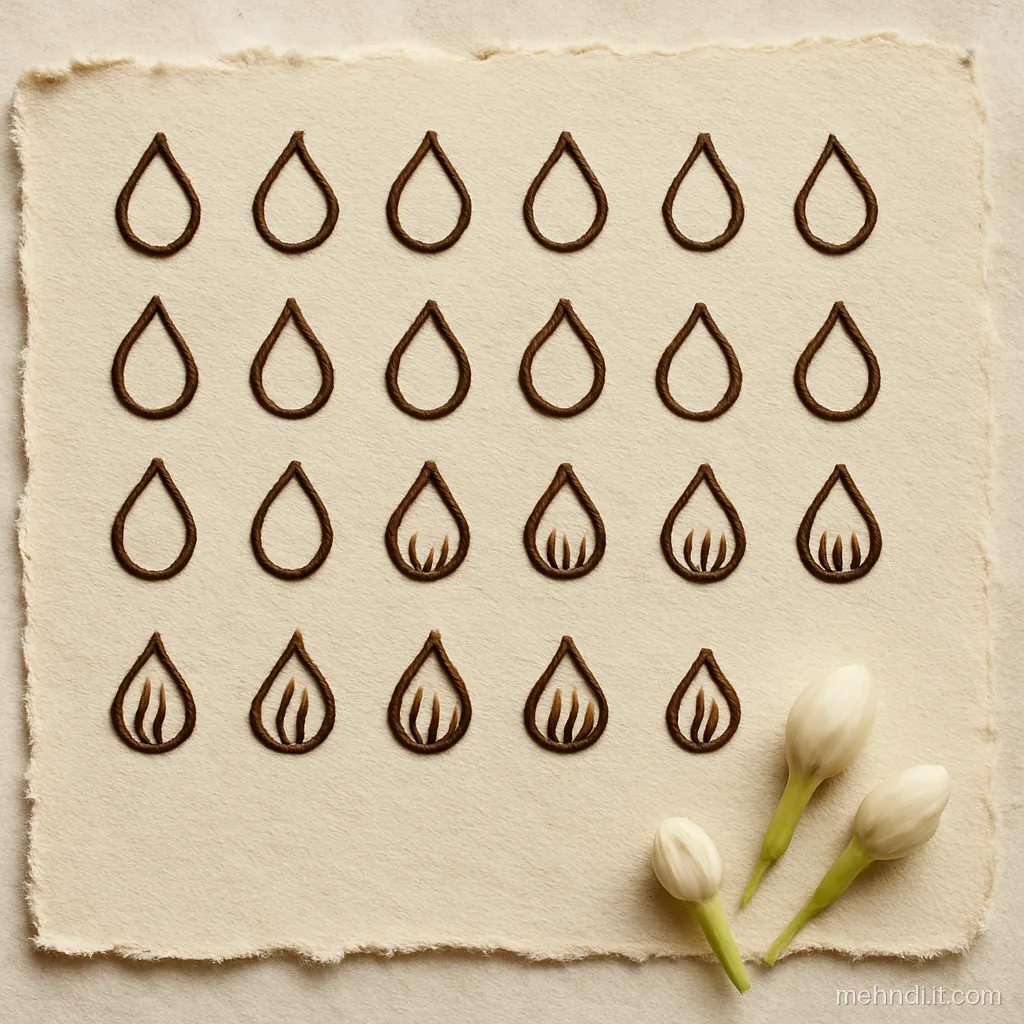
4. Petal Shape Practice Page
Draw a petal as two curved lines that meet at the tip. Add the second outline only once the first looks even. About 15 minutes.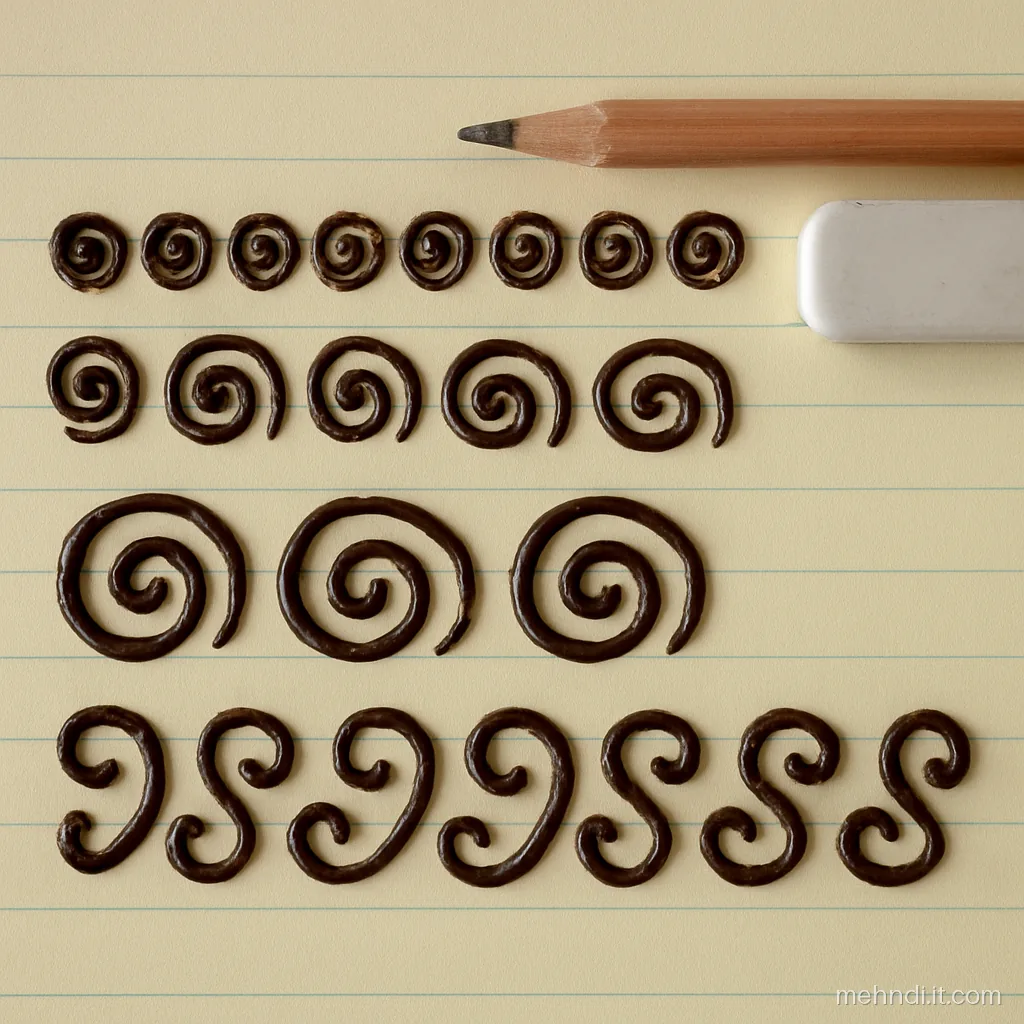
5. Swirl and Spiral Drill
Start every spiral in the centre and turn the paper, not your wrist. Ten minutes a day is enough.First Simple Mehndi Designs for Beginners on Paper
Once the strokes feel easy, join them into small designs. These are good first simple mehndi designs for beginners. Draw each one five times on paper. When the fifth copy looks like the first, you are ready to try it on a haath.
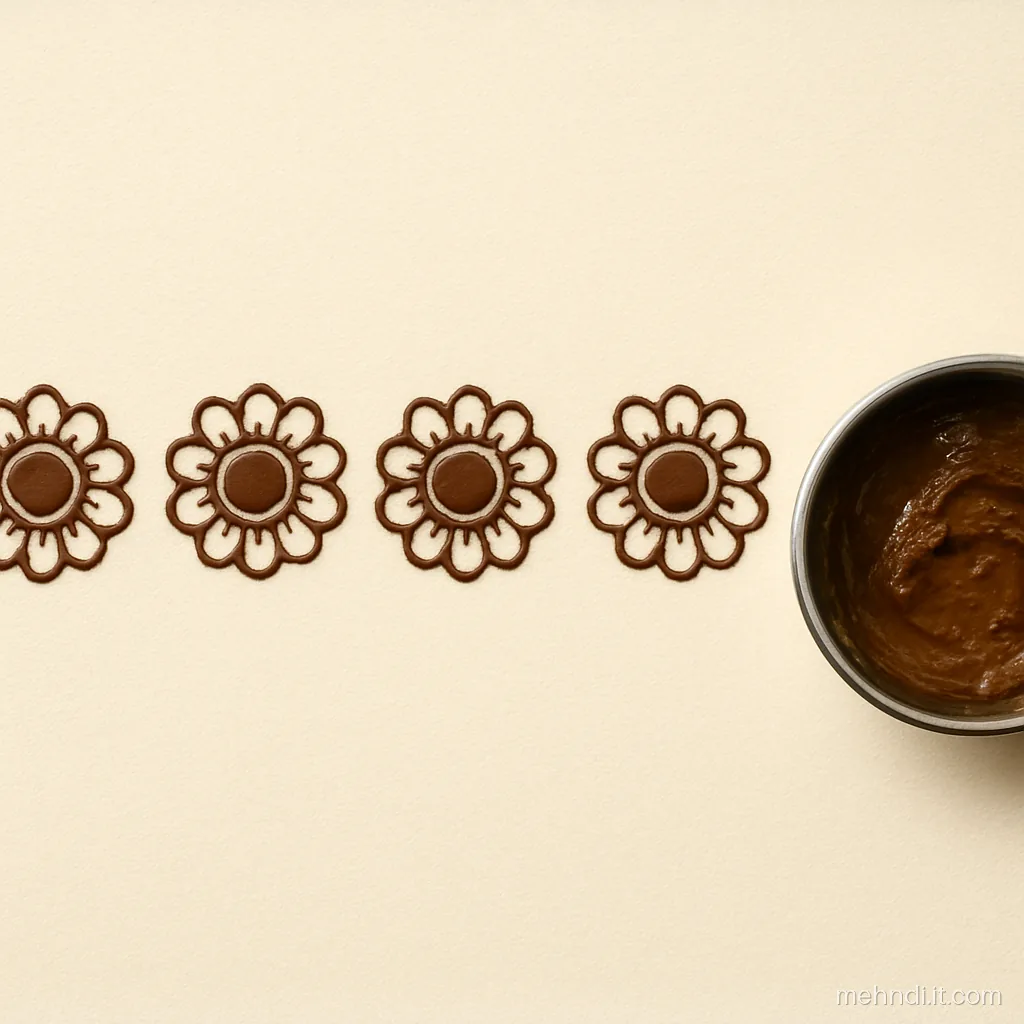
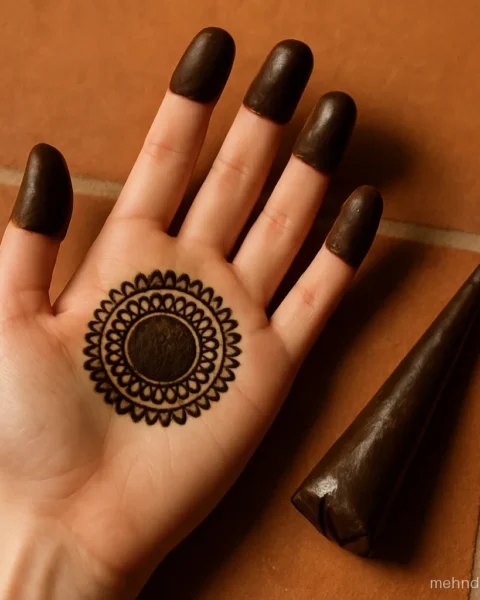
6. First Gol Tikki Round
Draw the circle first, then put petals at top, bottom, left and right before filling the gaps. 5 minutes each.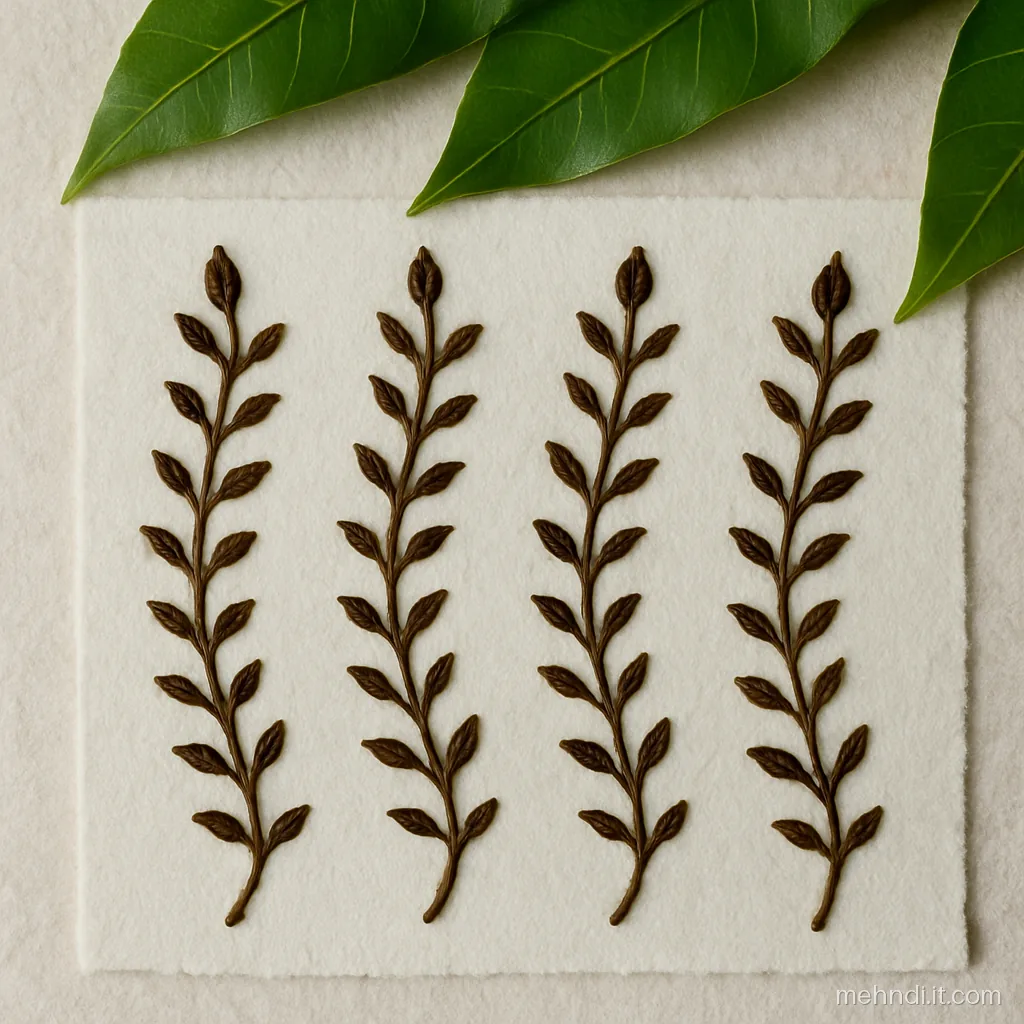
7. Two Leaf Vine Starter
Draw the whole stem first, then add leaves from bottom to top in pairs. About 5 minutes per copy.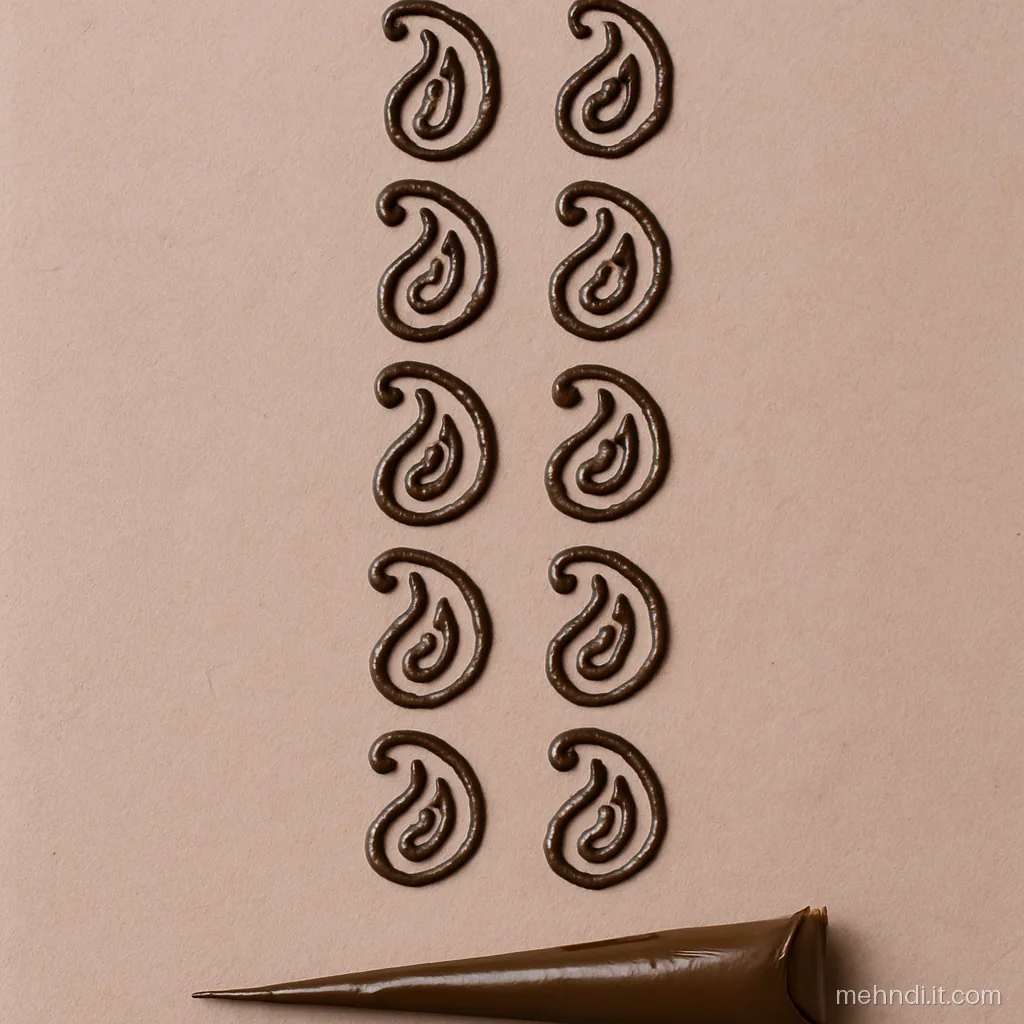
8. Simple Kairi Outline
Draw the kairi like a big teardrop with a curled tail, then fill the inside with dots. 6 minutes each.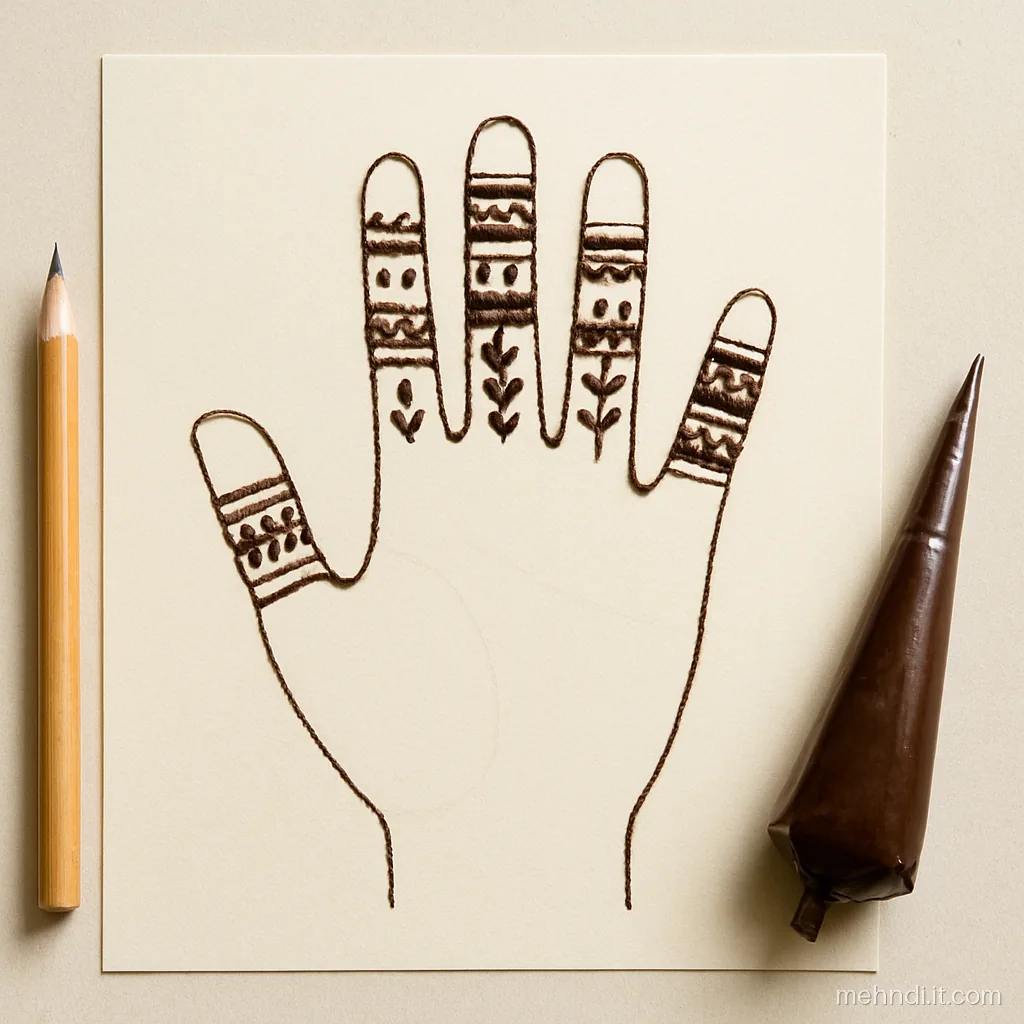
9. Finger Band Patterns
Trace your own fingers in pencil and practise bands inside them. Each finger takes 2 minutes.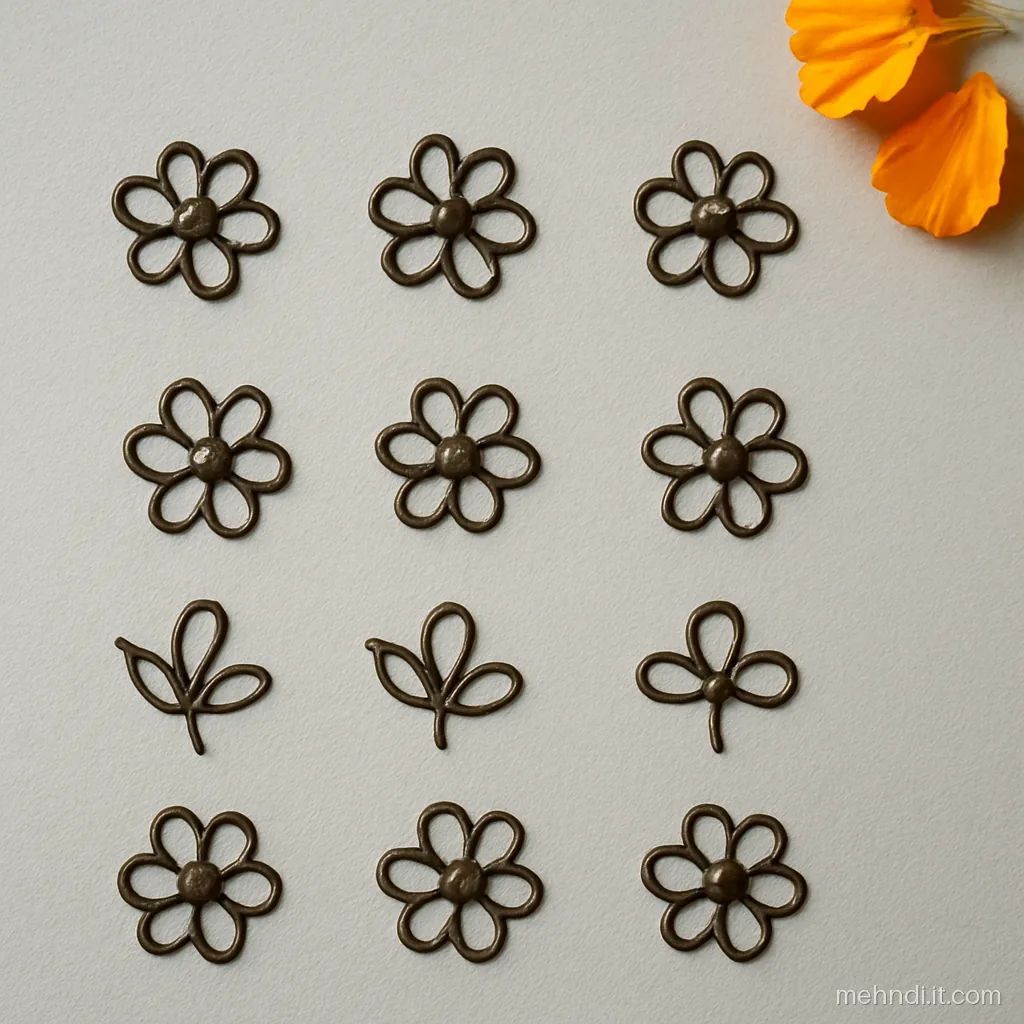
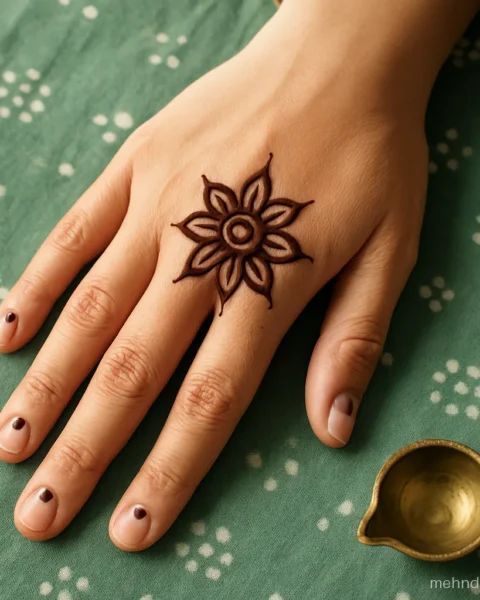
10. Five Petal Starter Flower
Put a dot centre, then draw five petals like a star around it. 3 minutes each.Beginner Cute Simple Mehndi Designs for Front Hands
Now try real hands. Ask a sister or friend to sit with you, or use your own non-writing hand. These beginner cute simple mehndi designs for front hands use only the strokes you practised. Rest your elbow on a table and keep the hand you are drawing on flat.
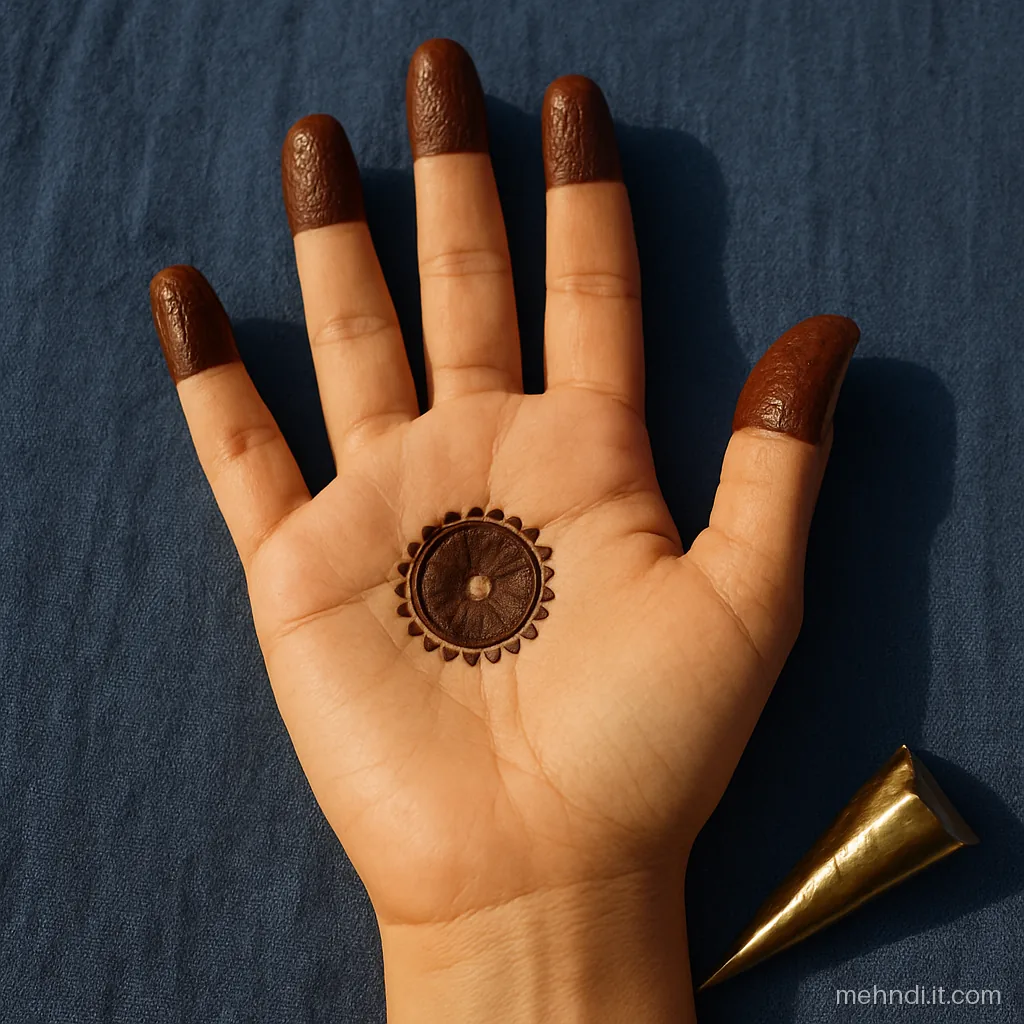
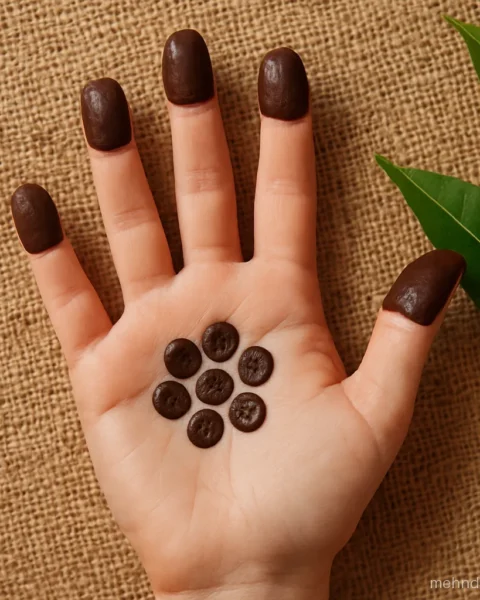
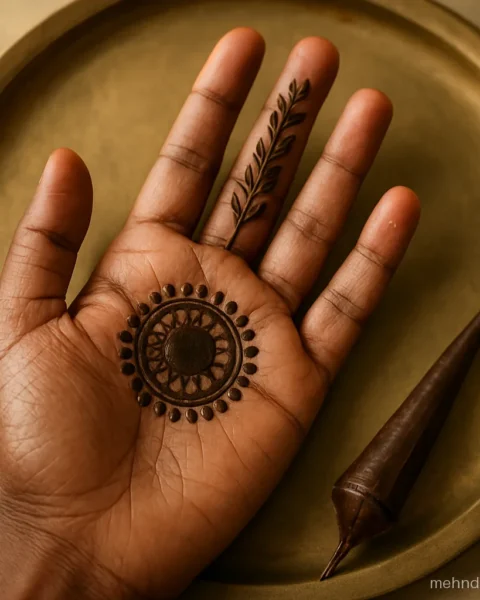
11. Palm Tikki With Filled Tips
Draw the tikki in the palm centre first, then fill fingertips last so you do not smudge them. 10 minutes, good for any small function.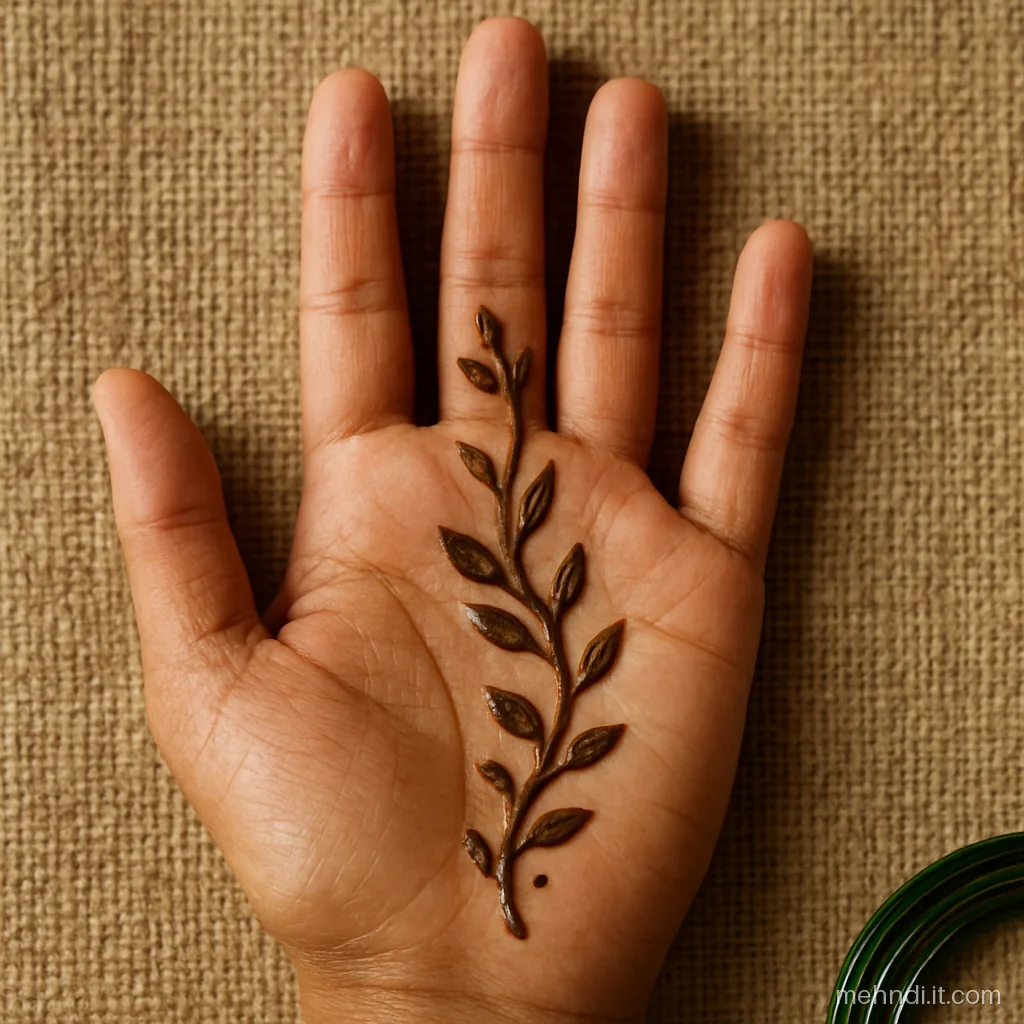
12. Easy Vine to Index Finger
Pull the stem in one stroke, then add leaves. If a leaf goes wrong, wipe with a damp cotton bud at once. About 12 minutes.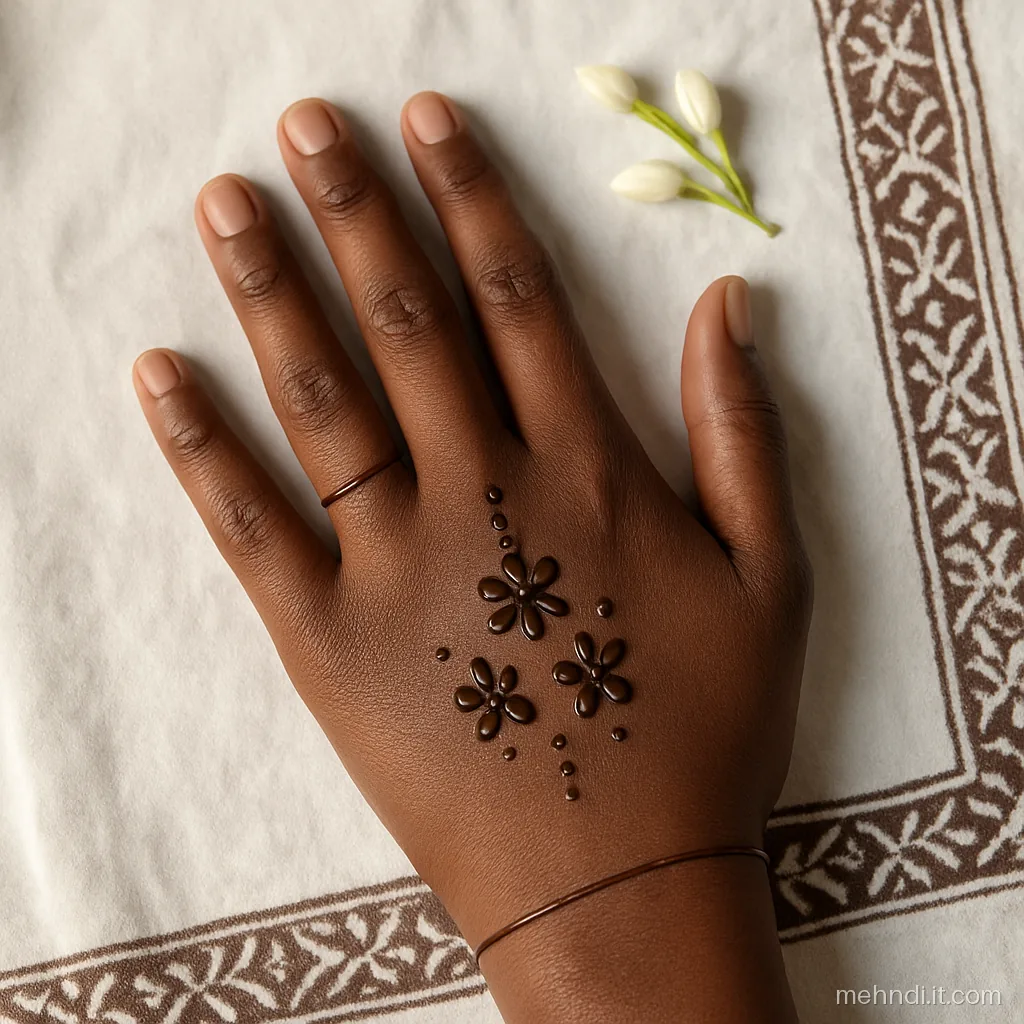
13. Three Flower Palm Cluster
Draw the middle flower first and the two side flowers touching it. 8 minutes.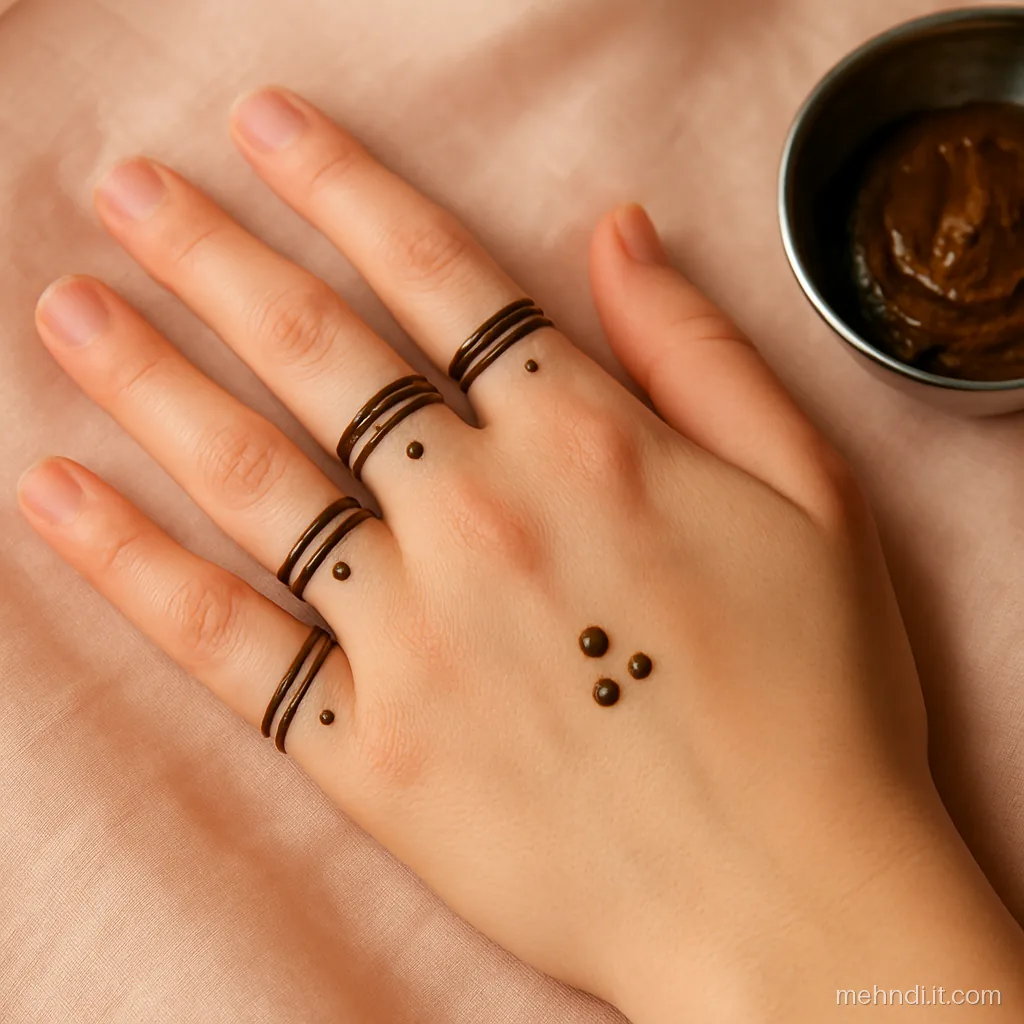
14. Back Hand Finger Bands
Draw one band on each finger at the same height, then add one dot cluster in the centre. About 8 minutes.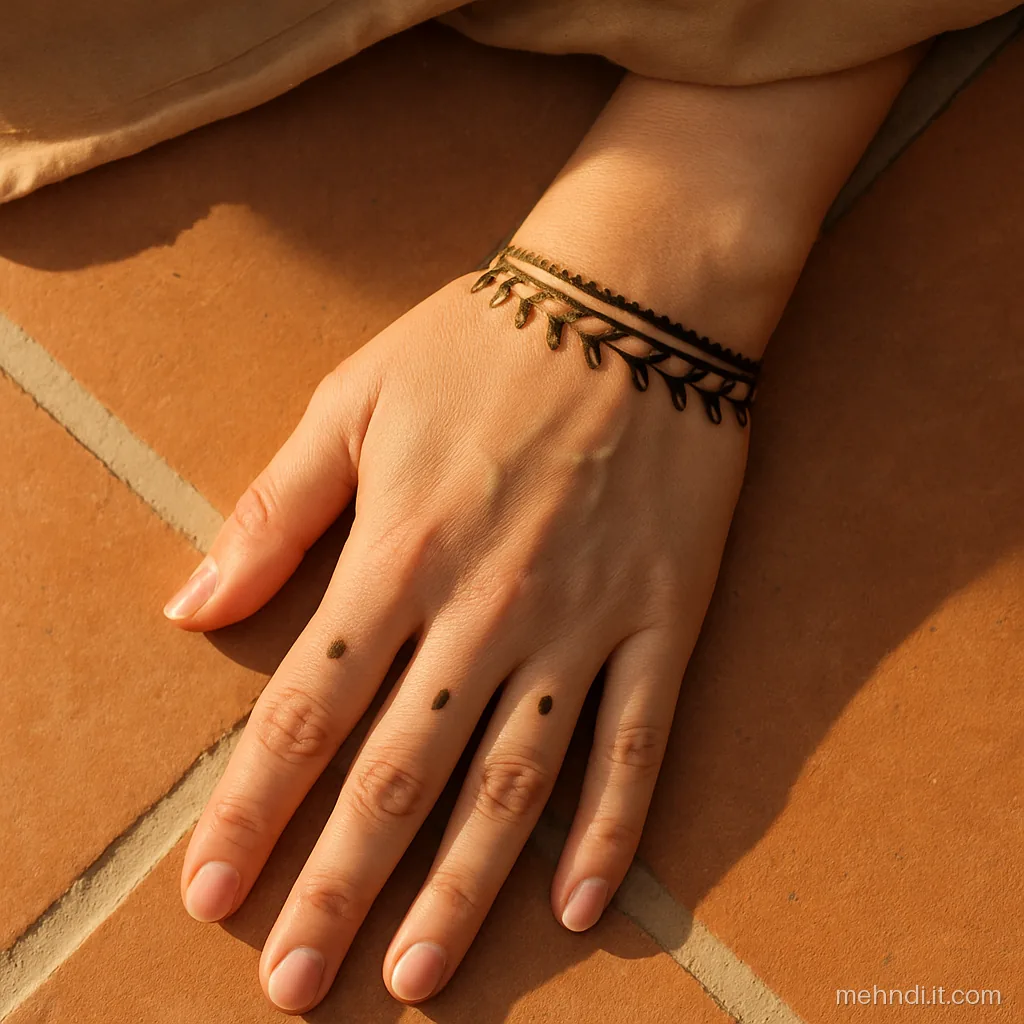
15. Simple Kalai Band
Turn the hand slowly while drawing so the band closes evenly. 7 minutes.Step by Step Mehndi Drawing: One Design in Stages
This set shows one design built in five stages on paper. Copy each stage on its own and you will see how big designs are just small steps. This is an easy answer to mehndi lagana kaise sikhe: one small step at a time.
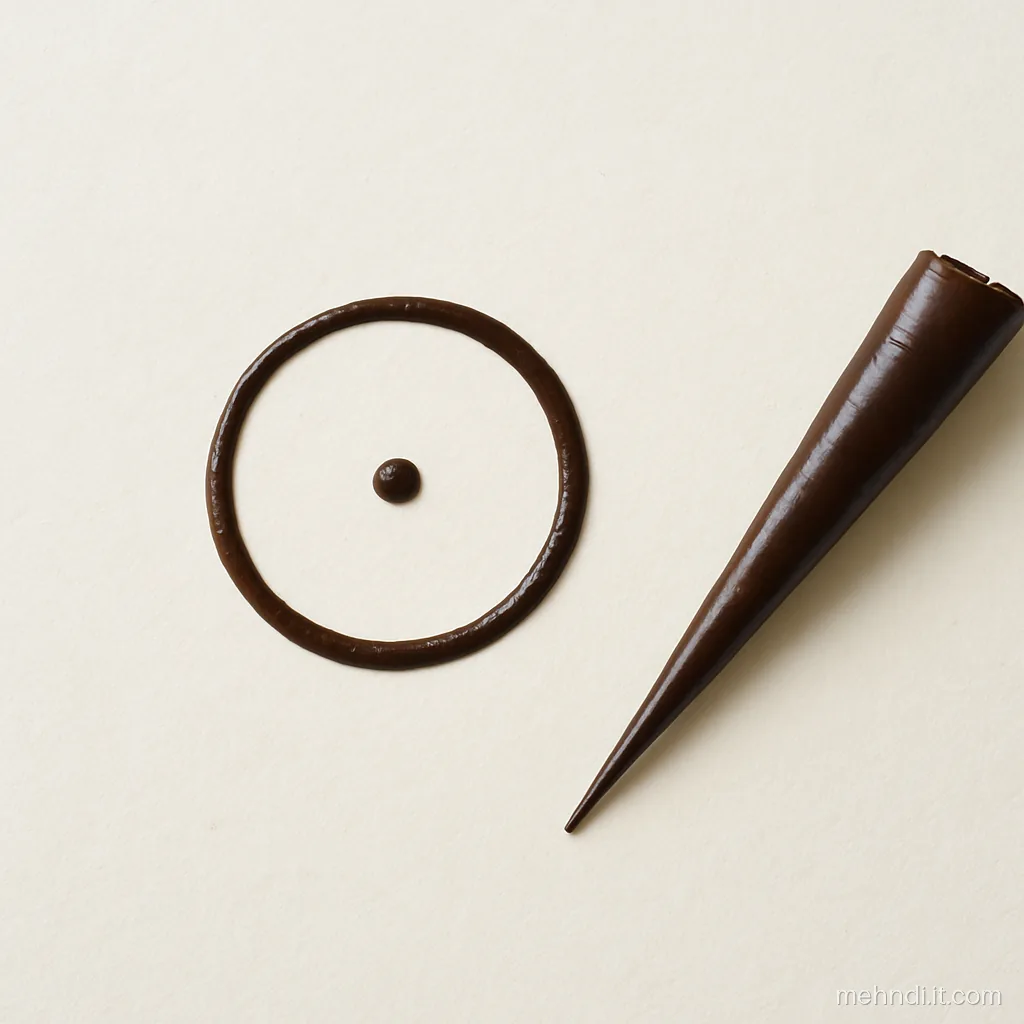
16. Stage One Centre Circle
Draw the circle and fill a dot in the middle. That is all for stage one. Takes 2 minutes.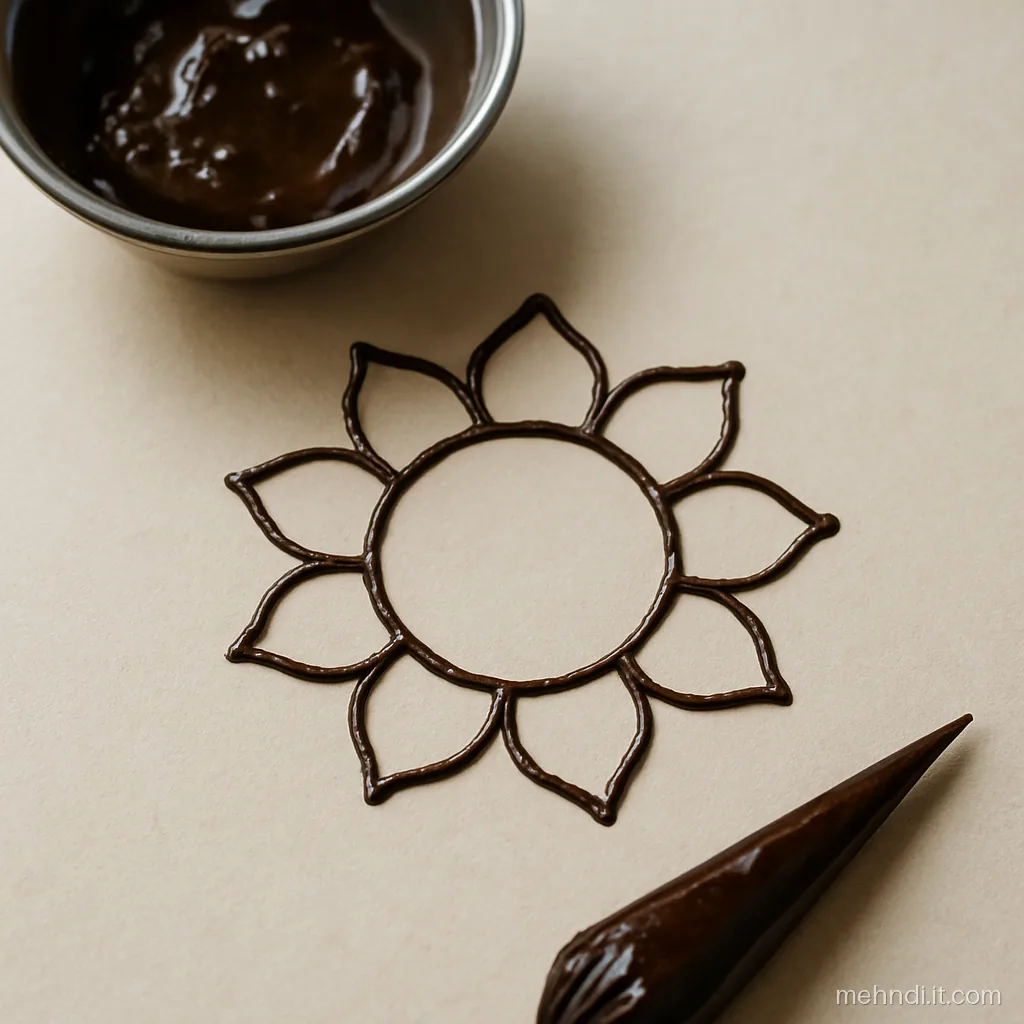
17. Stage Two Petal Ring
Add petals at top, bottom, left and right first, then four petals between them. 4 minutes.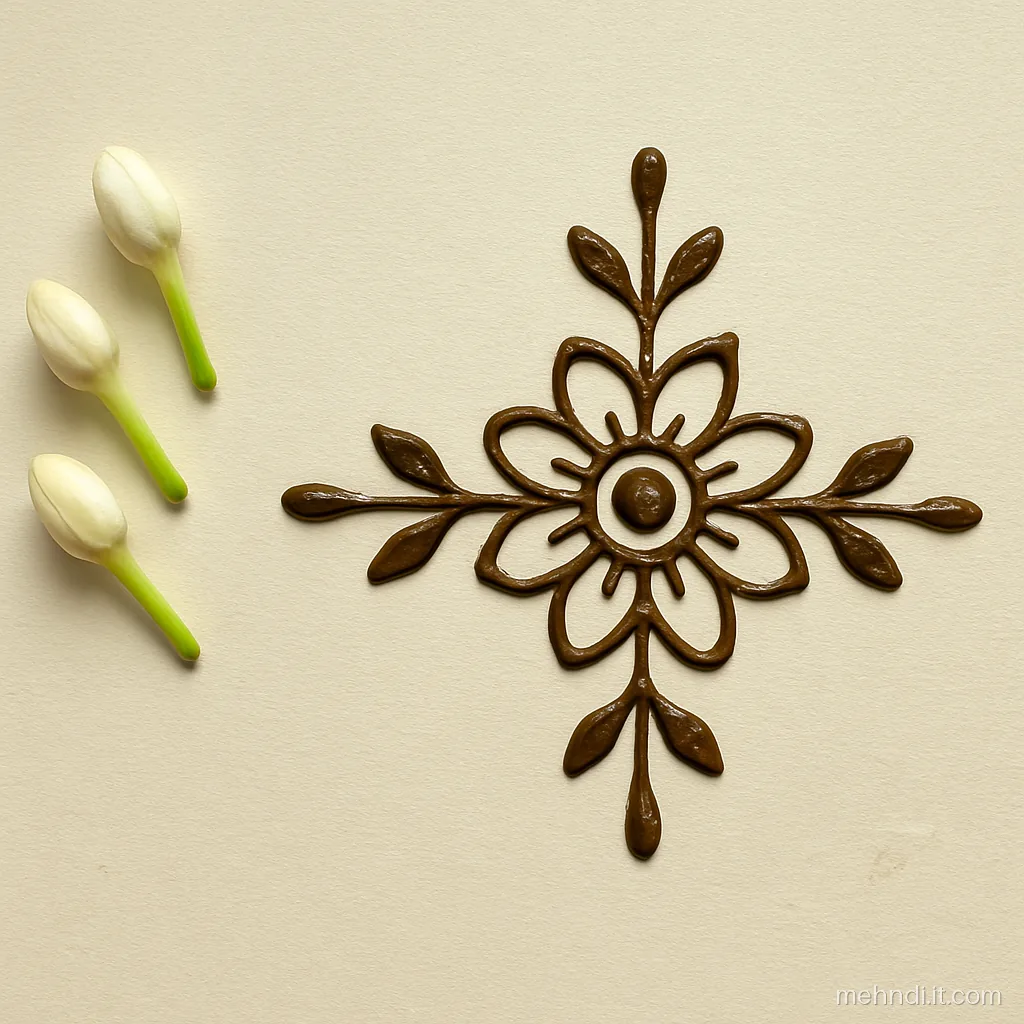
18. Stage Three Leaf Arms
Pull four stems outward like a plus sign and add two leaves to each. 5 minutes.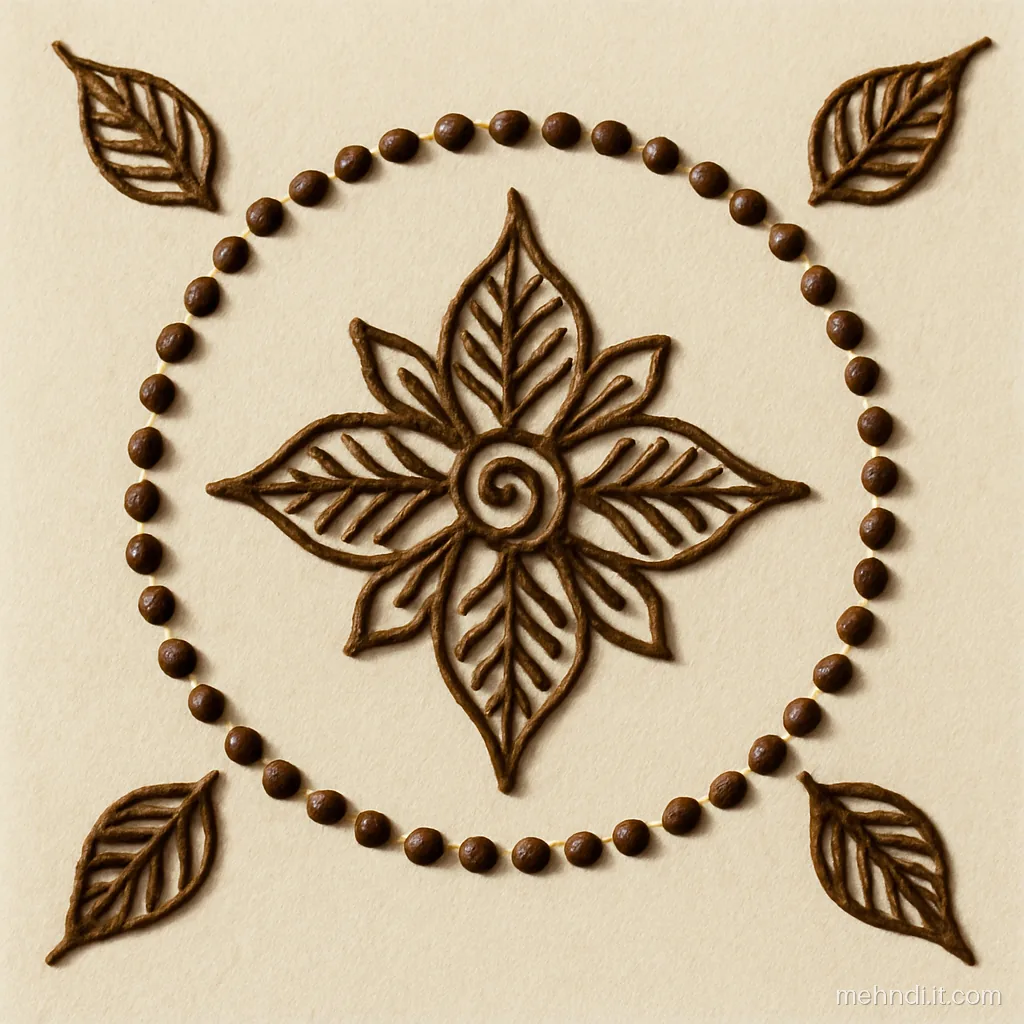
19. Stage Four Dot Border
Join the tips of the four arms with a circle of dots. Keep dots the same size. 5 minutes.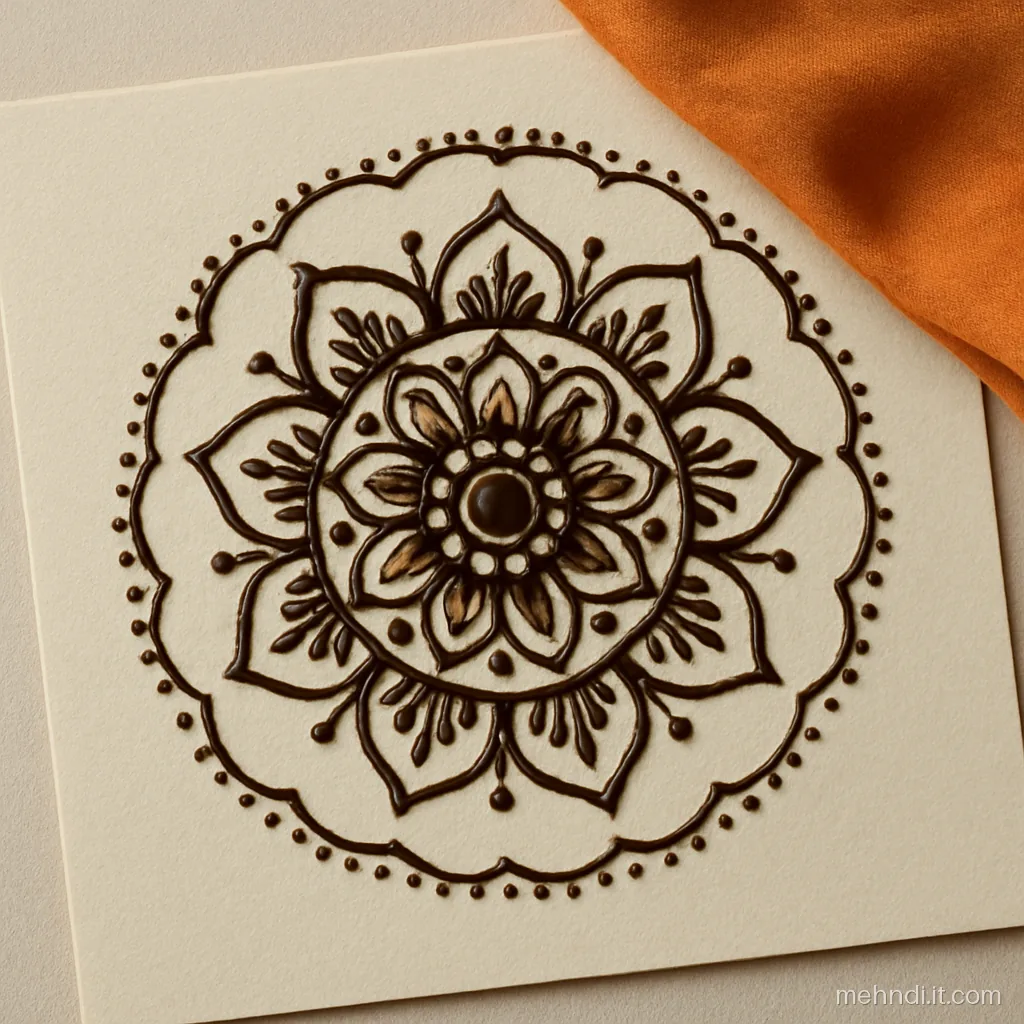
20. Stage Five Finished Mandala
Shade the petals with three short lines and add swirls between the arms. A full design in about 20 minutes.What You Need for Your First Mehndi Lagana
You do not need fancy tools to start. Keep it simple and cheap for the first month.
- Natural henna cones. Buy fresh cones made from Lawsonia inermis leaf powder, or make your own with our how to make mehndi cone steps. Check that the label does not say black henna or PPD.
- Practice paper. Old notebooks, printer paper or a cheap drawing book. Glossy paper is hard to use because paste slides on it.
- A plastic sheet. A clear file folder is great. You can draw on it, wipe it and draw again.
- Tissue and cotton buds. Wipe the cone tip often. A damp cotton bud fixes a wrong line on skin.
- A pin or safety pin. To clear a blocked tip.
- Lemon and sugar. For sealing the design once it dries a little.
Before you use henna on anyone, do a patch test. Put a small dot on the inner elbow and wait 24 hours. If the skin goes red or itchy, do not use that paste. This matters most for children and anyone with sensitive skin. If you are pregnant or unwell, ask your doctor first, even with natural henna.
How to Hold the Cone and Control Pressure
Most beginners squeeze too hard. Mehndi is about soft, steady pressure, like writing with a gel pen.
- Hold the cone like a pen. Your thumb and first two fingers sit near the tip. The back of the cone rests on your hand.
- Fold the top. Roll the open end of the cone down as it empties. This keeps pressure even.
- Lift the tip a little. The tip should float just above the skin. Let the paste fall onto the line. If you drag the tip on the skin, lines break.
- Move your arm, not your fingers. For long lines, move from the elbow. Fingers alone make shaky lines.
- Turn the hand or paper. Always draw curves toward yourself. Turn the hand instead of twisting your wrist.
A simple test: draw ten lines in a row. If some are thick and some thin, your pressure is changing. Slow down and squeeze the same amount for each line. Most beginners fix this in three or four days.
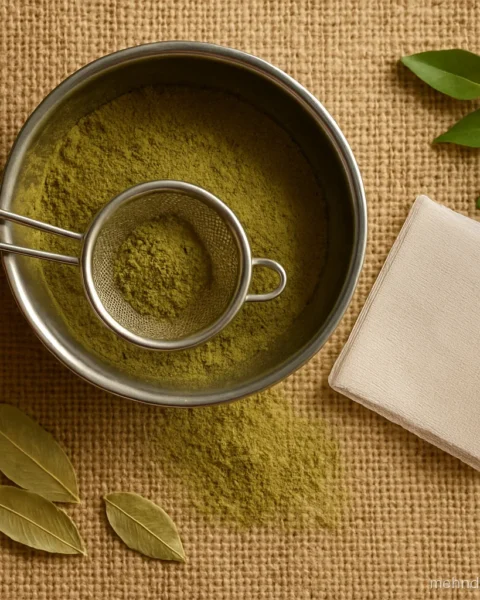
Check your paste too. Good paste feels like thick toothpaste and flows in a smooth string when you lift the cone. If it breaks into bits, it is too dry; add a few drops of water or lemon juice and mix. If it spreads and blurs, it is too runny; add a pinch of sifted henna powder. Let fresh paste rest for a few hours before filling cones, so the colour releases. Store extra cones in the freezer and thaw one at a time.
Common Mistakes in Mehndi Designs for Beginners and How to Fix Them
| Problem | Why it happens | Quick fix |
|---|---|---|
| Lines are thick and blobby | Cone tip cut too big or too much squeeze | Use a new cone with a smaller tip and press lightly |
| Lines break in the middle | Paste is too thick or tip is dragging | Lift the tip slightly; strain your paste if it has lumps |
| Smudges on the design | Hand touching wet paste | Start from the side away from your drawing hand; wipe smudges at once with a damp cotton bud |
| Design looks crowded | Too many ideas in one place | Pick one main motif and leave bare skin around it |
| Left and right hands do not match | Starting at different points | Start both hands from the same spot and finish the first hand fully before the second |
| Light orange stain | Paste removed too early or washed with water | Keep paste on 4 to 8 hours and avoid water for 12 hours |
Do not worry about mistakes on paper. Every wobbly line teaches your hand something. Every first practice sheet is full of blobs, and that is fine.
One more habit helps a lot: take a photo of every practice sheet. After two weeks, put the first and latest photos side by side. You will see thinner lines, rounder dots and better spacing, and that progress keeps you going on the days your hand feels clumsy.
A 7 Day Practice Plan for Mehndi for Beginners
Practise for 20 to 30 minutes a day. Short daily practice beats one long weekend session.
| Day | What to practise |
|---|---|
| Day 1 | Dots and straight lines, one full page each |
| Day 2 | Curved lines, C curves and S curves |
| Day 3 | Teardrops and petals, outlined and filled |
| Day 4 | Swirls and spirals; then draw five gol tikkis |
| Day 5 | Vines and leaves; draw a vine across a traced hand outline |
| Day 6 | Your first design on your own hand: a palm tikki with filled tips |
| Day 7 | One full simple design on a friend’s hand, start to finish, timed |
After the week, move on to easy hand designs like our easy front hand mehndi designs and easy back hand mehndi designs. Keep doing ten minutes of dots and lines every day as a warm up, even when you are good.
Make Your Own Mehndi Design Book
Every mehndi artist keeps a mehndi book. It is simply a notebook of designs you can draw well. When a client or cousin asks for a design, you open the book and show them.
- One design per page. Draw it in henna or pen, and write the time it took under it.
- Group by hand area. Keep palm designs, back hand designs, finger designs and wrist bands in separate parts of the book.
- Add a photo. When you do a design on a real hand, stick a printed photo next to the paper version.
- Mark your level. Write Easy, Medium or Hard. Your book will show how fast you are growing.
After a month, your mehndi design book will have 20 to 30 designs. That is enough to start doing mehndi for family functions. When you feel ready, try a fuller style from simple full hand mehndi designs.
Many beginners start getting requests from neighbours once their book is ready. If people begin asking for mehndi booking at home, start small: charge only for cones at first, keep a list of designs with the minutes each takes, and never promise a bridal look before you have practised it. Carry your book, spare cones, tissues and a small fan to every booking, and always ask about skin allergies before you start.
Aftercare: Getting a Good Colour on Your First Designs
A good stain makes even a simple design look professional. Once the paste dries a little, dab on a mix of lemon juice and sugar with cotton. This keeps it sticky so it stays on the skin. Leave the paste on for 4 to 8 hours. Scrape it off with a blunt knife or your nail, not water. Natural henna starts orange and turns deep brown over 24 to 48 hours. Some families warm the hands over clove smoke or rub on a little mustard oil after scraping, and both are fine traditional tips. Avoid water for 12 to 24 hours if you can.
Do not judge your work in the first hour. Fresh stain is bright orange and can look patchy. Wait until the next evening before you decide if a design worked. Fingertips and palms stain darkest because the skin there is thicker, so do not worry if the wrist looks lighter. For more ideas, read how to make mehndi dark.
Common questions
How can I learn mehndi at home?
Start with dots and lines on paper for a week, then simple designs on your own hand. Practise 20 to 30 minutes daily and copy the stages shown on this page.
What is a good easy mehndi design for beginners?
A palm gol tikki with filled fingertips. It uses only a circle, petals and dots, and takes about 10 minutes.
How long does it take to learn mehndi lagana?
Most beginners draw neat simple designs in two to three weeks. Full bridal work takes months of practice.
Is a ready-made mehandi cone fine for beginners?
Yes, if it is natural henna with no chemicals. Avoid black henna and cones that stain in minutes. Always do a patch test.
What makes a mehndi design easy for beginners?
Few strokes, one main motif and plenty of bare skin. If a design has more than three different shapes, save it for later.
Should I start with front hand or back hand?
Start with the front hand on your own non-writing hand. The palm is flat and easy to reach. Back hand comes next.